.webp)
How to Build a Successful Island in Animal Crossing: New Horizons
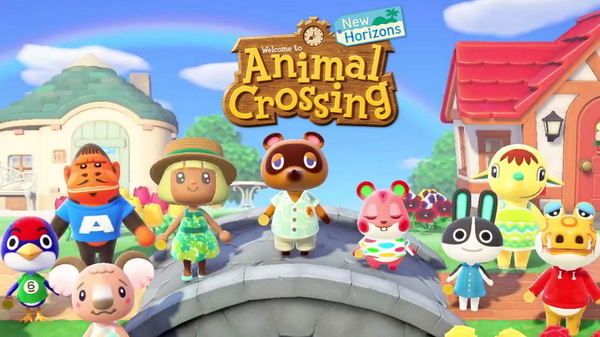
Creating a successful island requires smart resource management, planning, and gradual development. Instead of decorating immediately, focus first on Bells, materials, facilities, and villagers.
This guide explains how to develop your island efficiently from the first day to advanced customization.
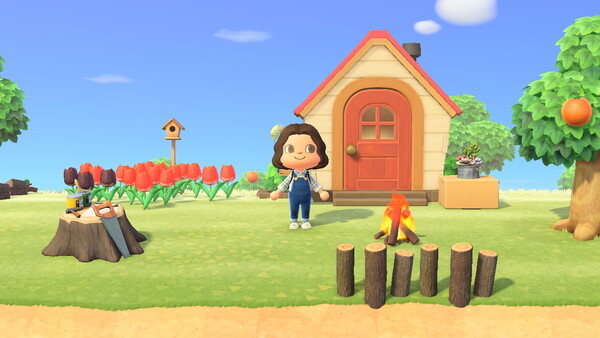
Choose Your Island
Select a layout with convenient rivers, beaches, and open areas. Think about where future homes, shops, and public spaces might go.
Important Features
• Resident Services location
• River entrances
• Airport position
• Open building areas
A practical layout makes future development easier.
Gather Resources
Collect wood, stone, clay, iron nuggets, and other materials every day.
Do not sell everything. Keeping a reserve makes crafting and construction much easier later.
Daily Routine
Hit rocks, shake trees, collect branches, and gather beach items whenever possible.
Earn Bells
Bells are essential for home upgrades, bridges, inclines, and furniture.
Fishing, catching bugs, collecting fruit, and selling duplicate items provide reliable early income.
Spend Carefully
Save enough Bells for important upgrades instead of spending everything on decorations.
Upgrade Your Home
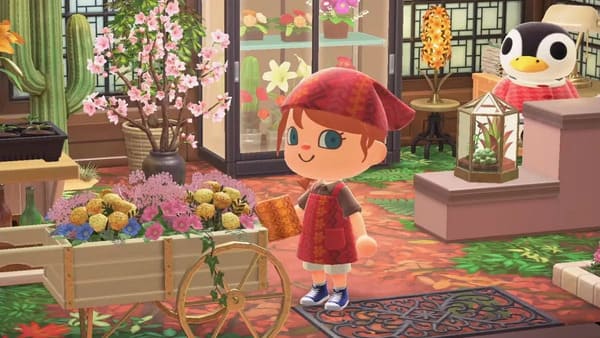
Home upgrades provide more rooms and valuable storage space.
Organize furniture, clothing, materials, and seasonal items so they are easy to find later.
Balance Your Spending
Do not spend all your Bells on home upgrades if your island still needs important infrastructure.
Develop Facilities
Unlock shops, the museum, and other important facilities as your island develops.
Plan enough space around major buildings for paths, gardens, and decorations.
Create Useful Zones
• Shopping area
• Museum area
• Residential zone
• Town square
• Beach area
Organize Villager Homes
New villagers require housing plots. Plan their locations carefully instead of placing homes randomly.
Create Neighborhoods
Group homes together or create smaller themed residential areas. Leave space for paths, trees, gardens, and furniture.
Improve Island Rating
Add flowers, trees, fences, outdoor furniture, bridges, and other improvements to develop the island.
Avoid filling every empty area with random objects just to increase the rating.
Keep the Island Balanced
Combine decoration with useful infrastructure and clear walking spaces.
Use Island Designer
Island Designer allows much greater control over paths, cliffs, and waterways.
Before making major changes, create a basic plan for the island.
Planning Order
Entrance → Paths → Buildings → Rivers → Cliffs → Decorations
Planning first reduces unnecessary rebuilding.
Create Themed Areas
Once the basic layout is complete, create gardens, cafés, parks, markets, forests, farms, or beach areas.
Maintain Visual Consistency
Use similar paths, fences, plants, and furniture to connect different sections.
Leave some open space so the island does not feel overcrowded.
Refine Your Island
Late-game development should focus on improving existing areas rather than constantly adding new objects.
Walk around and identify awkward paths, empty spaces, overcrowded areas, or poorly positioned decorations.
Final Checklist
• Connect major locations
• Improve paths
• Organize villager homes
• Decorate entrances
• Balance trees and flowers
• Maintain open spaces
Conclusion
Building a great island in Animal Crossing: New Horizons is a gradual process. Start by gathering materials, earning Bells, upgrading your home, and unlocking facilities.
Next, organize villagers, improve infrastructure, and use Island Designer to reshape the landscape. Finally, add themed areas and refine smaller details.
Good planning is more important than filling every space. A successful island should be attractive, organized, and easy to explore.